Keyboard SDK iOS
To start working with Virtual Keyboard SDK, we first need to sync the required dependency, set required flags, create a custom keyboard extension, and finally creating a KeyboardViewController extending the FKKeyboardViewController class.
To use the SDK, please note that you first need a license key which can be requested in the developer’s dashboard.
The below steps assume that you already have an existing project to add Fleksy Keyboard SDK support. In case you lack an existing project, follow the steps given at official Apple documentation to create a new project.
Setup
Let’s set up your Sample keyboard, which takes just a few minutes. Follow the instructions below to add the keyboard SDK to an existing application.
Step 1
Xcode provides support to add a new Custom Keyboard Extension target to your project that can be used to quickly generate required files and schemes to build your custom keyboard.
- Select your Project in the Project Navigator,
- Navigate to File > New > Target,
- Select the Custom Keyboard Extension from the Application Extension group and click next,
- Specify a Product Name (e.g.
SampleKeyboard) and click finish.
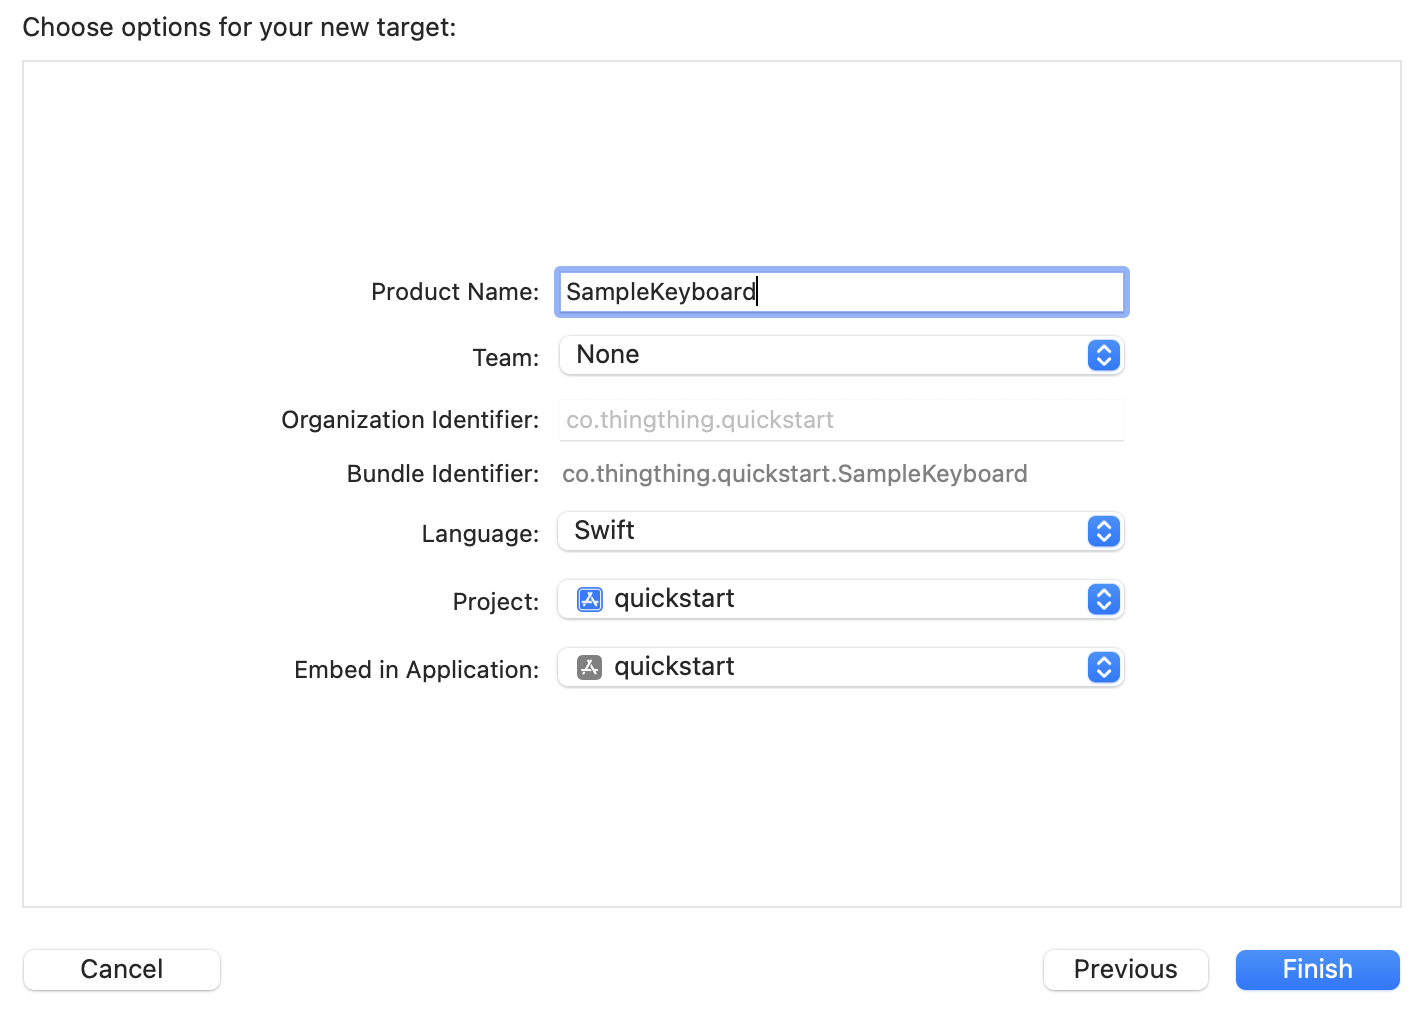
Xcode will ask you if you want to activate the scheme for the newly created extension. Choose Activate.
Step 2
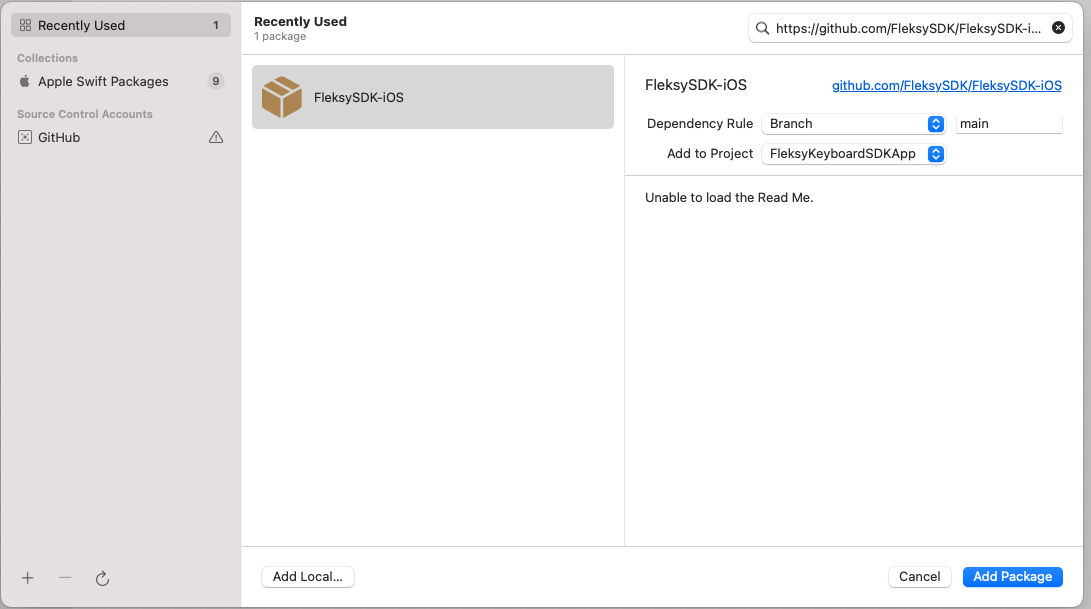
Add the FleksySDK package as a dependency using its repository URL, as follows:
- Navigate to Project’s General Pane > Package Dependencies,
- Click on the
+button and enter the repository URL and click Add Package button.
https://github.com/FleksySDK/FleksySDK-iOS
Step 3
Locate your Custom Keyboard Extension created in step 1 in the Project Navigatior.
- Modify the
KeyboardViewControllerclass present in it by removing the existing content in it. - Import the
FleksyKeyboardSDKpackage and inherit from FKKeyboardViewController. - Override the method
createConfigurationto return a configuration as shown below. - Finally replace
<your-license-key>and<your-license-secret>with your license.
It is recommended NOT to commit your license keys in the code but to store them as variables in the environment and access them during the compilation.
import FleksyKeyboardSDK

class KeyboardViewController: FleksyKeyboardSDK.FKKeyboardViewController {

    override func createConfiguration() -> KeyboardConfiguration {
        let style = StyleConfiguration()

        let typing = TypingConfiguration()

        let licenseConfig = LicenseConfiguration(
            licenseKey: "<your-license-key>",
            licenseSecret: "<your-license-secret>"
        )

        return KeyboardConfiguration(
            style: style,
            typing: typing,
            specialKeys: nil,
            license: licenseConfig
        )
    }
}
Step 4
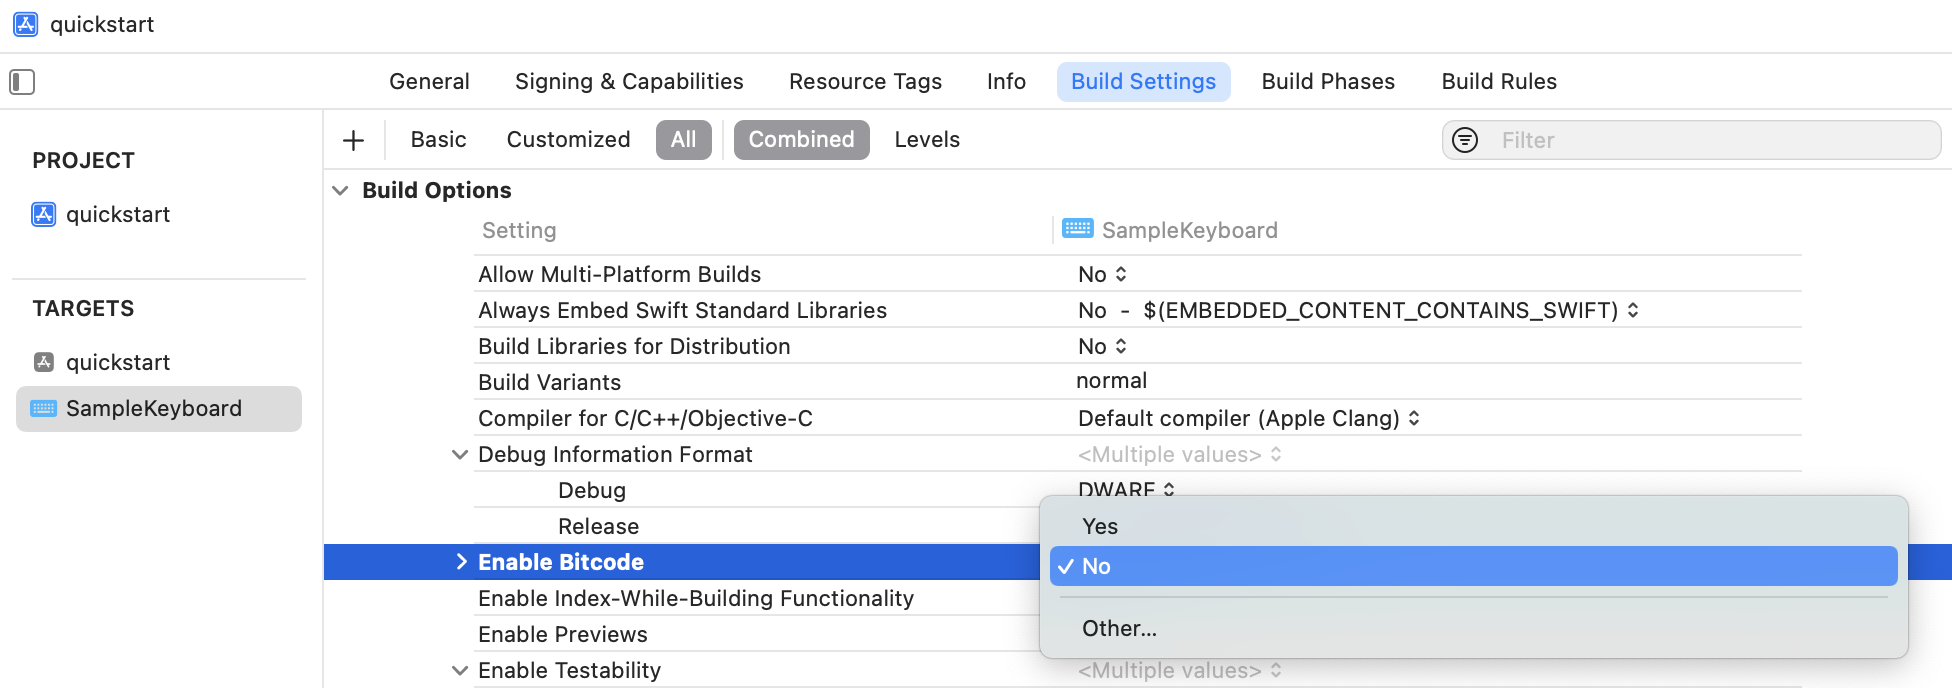
FleksySDK doesn’t support building with bitcode so it must be disabled to avoid compilation failures.
- Select your Custom Keyboard Extension’s General Pane > Build Settings,
- Under the Build Options find the option Enable Bitcode and set it to No.
Step 5
- Navigate to Custom Keyboard Extension’s General Pane > Info > NSExtension,
- Under NSExtensionAttributes, find
RequestsOpenAccesskey of typeBooleanand set its value to1.
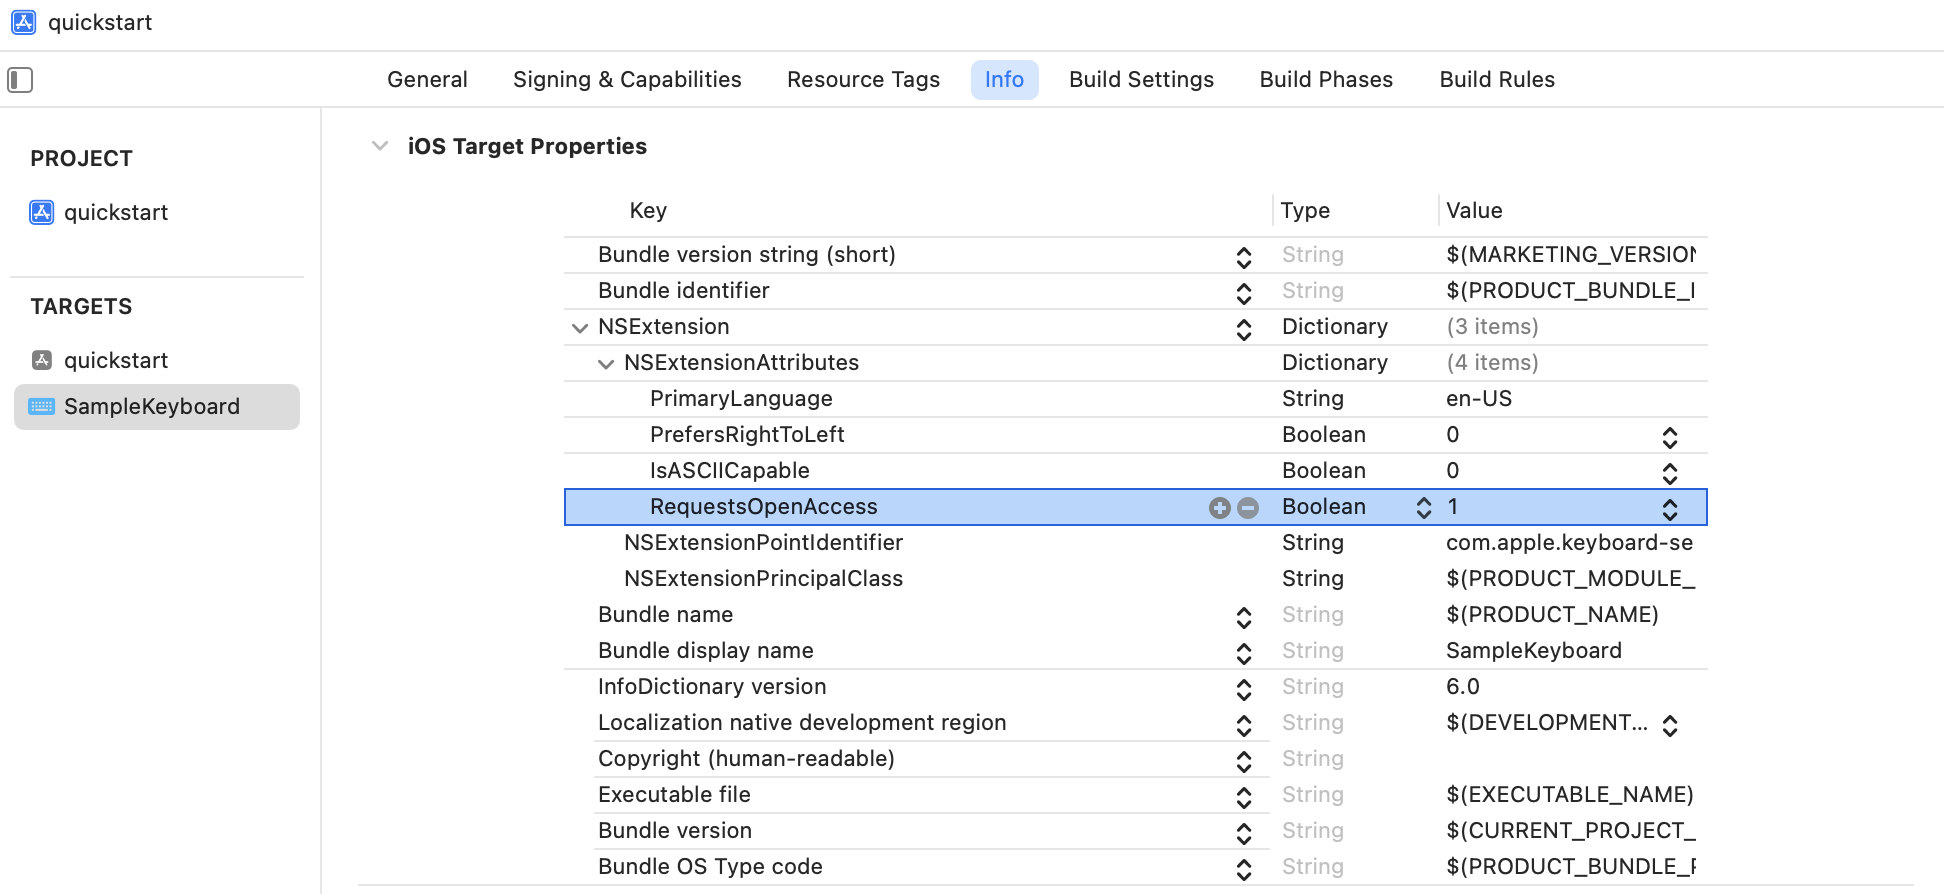
Your project is now ready to be built and run on a device of your choice.
Launch and Debug
Once we have the initial setup done, we can move to launching our new keyboard. On iOS, there are two different schemes: one for the App itself and one for the Extension.
Launch the keyboard
For launching the keyboard you just need to build the project and launch it. This will install an App in your test device. Once we have the App installed in our device, we need to select the new keyboard.
Add the Fleksy keyboard
Let’s open the Settings App, go inside General > keyboard > Keyboards . Then, once here:
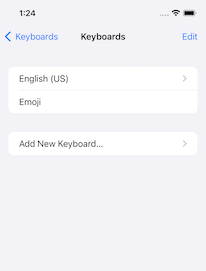
Press Add New Keyboard, which would lead to the next screen:
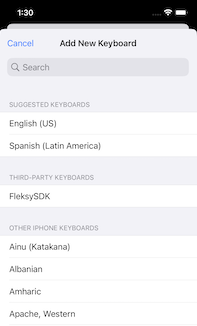
Then, we are ready to press FleksySDK which will add your new keyboard to the system keyboards.
ℹ️ Once added, remember to select the newly installed keyboard and enable full access.
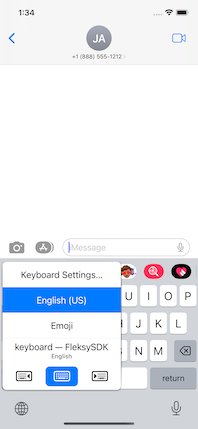
Select the Fleksy keyboard
Finally, when you are in any App, you can select the newly installed keyboard, like this:
Debug the keyboard
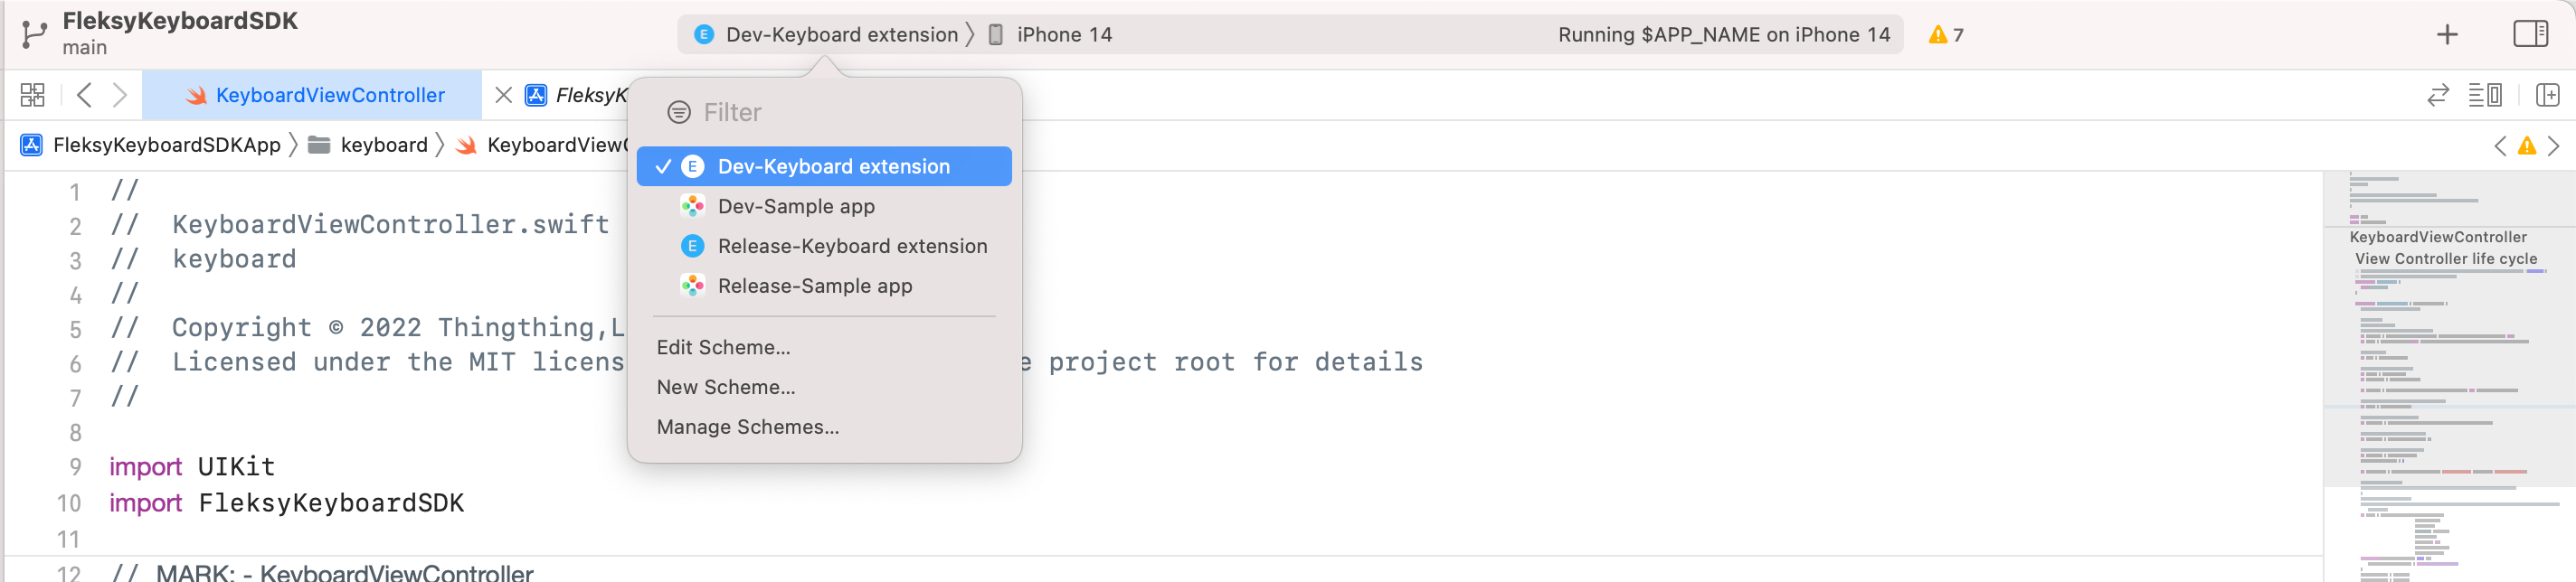
In the need of debugging your custom keyboard it is important to remember to select the scheme of the keyboard.
If you debug the App, even though we open up the keyboard, we would not see any results in the console, so, it is important to make sure we are debugging the keyboard, which is the scheme of the extension.
Select the extension scheme: